Table of Contents
Autodl-IRSSI Tutorial
What is autodl-IRSSI?
Autodl-IRSSI allows rtorrent to monitor your trackers Announce Channel and to automatically start downloads for you based upon your filters. This is a good time to point out the basic differences between RSS and IRSSI. With RSS when you set a filter it acts upon the rss feed supplied by the tracker which it grabs every 6-30mins and acts upon the whole feed which could be as many as 100 torrents at once, so it sees into the past as well as the present. With IRSSI it is continuously monitoring a news feed from the tracker rather like the news headlines at the bottom of your favourite TV News program, once the news has scrolled across the screen it is gone forever. So you cannot use IRSSI to grab “past” releases. But because it is monitoring the live feeds as soon as a new release hits your trackers, your filters are applied and the matching torrents are passed to rtorrent to download immediately.
In this tutorial we are going to set up a filter to grab your favourite HD TV shows and save them in a newly created folder called TV Shows.
1. Setting up a New Tracker
There are two parts to this process, the first is loading passkeys or cookies into the program to allow you to download from the tracker with your site authorisation, and the second is setting up the Announce Channel to monitor.
A. Passkey/Cookies
At the top of rutorrent page you will find the autodl-irssi tab (in default skin this is a white arrow on a green background). Click the tab
Select Trackers.
For this tutorial we will use IPTorrents as our example but this basic method is the same for most trackers. Scroll down the left hand panel to find the tracker you want to monitor and highlight it.
In the right hand panel carry out the instructions and paste the information in the box below the instructions, autodl-irssi will extract the required data, now click OK.
B. Setting Up Announce Channel
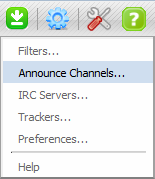
Click the autodl-irssi tab and this time select Announce Channels
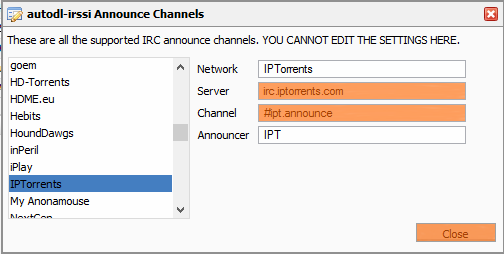
Scroll down the left hand panel and highlight the tracker you are adding
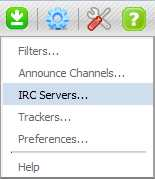
Now make a note of the Server and Channel data for use in the next stage. Click Close Click the autodl-irssi tab and this time select IRC Servers
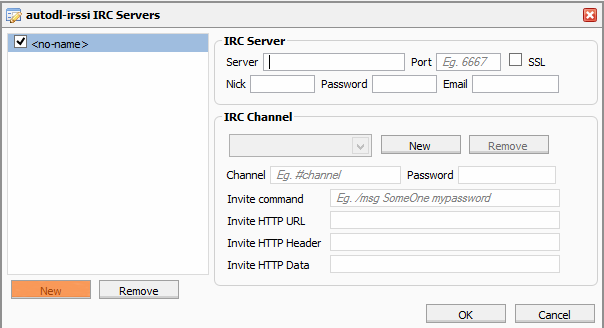
Click New
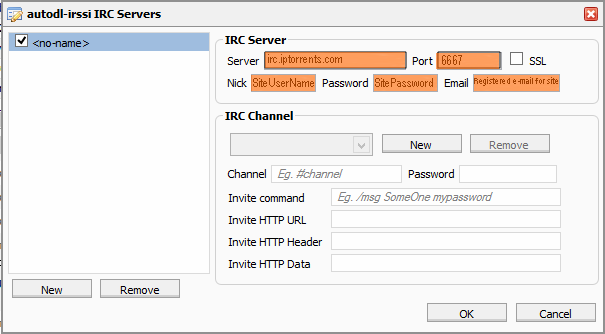
Now you have to enter the IRC Server information, which you will have noted from Announce Channels window above. In this case for IPT we enter the server as irc.iptorrents.com and the port 6667 (this is the standard port for irc and you may need to check with the tracker to confirm this). Next in the Nick box enter the username you use to log on to the trackers main site and in the Password box you enter your site logon password. In the Email box enter the email address associated to your tracker account.
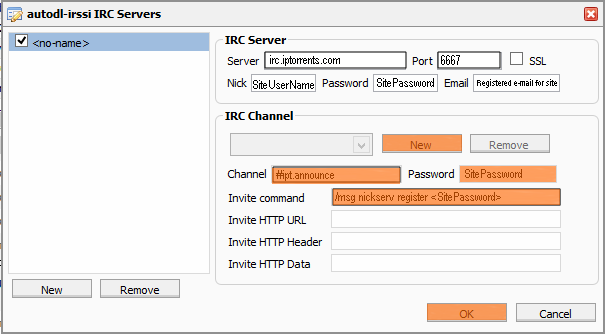
Now we will define the Channel to monitor for new releases. Click on New and in Channel box enter the Channel information, which you will have noted from Announce Channels window above. In this case for IPT we enter #ipt.announce (but in most cases it is just #announce). Now enter your tracker logon password into the Password box. Most trackers need you to just register your nick on their server this is done in the Invite Command box and consists of a message to the nick server with your tracker logon password, if this does not work then a quick question to site staff will let you know what information is required here. Now click OK
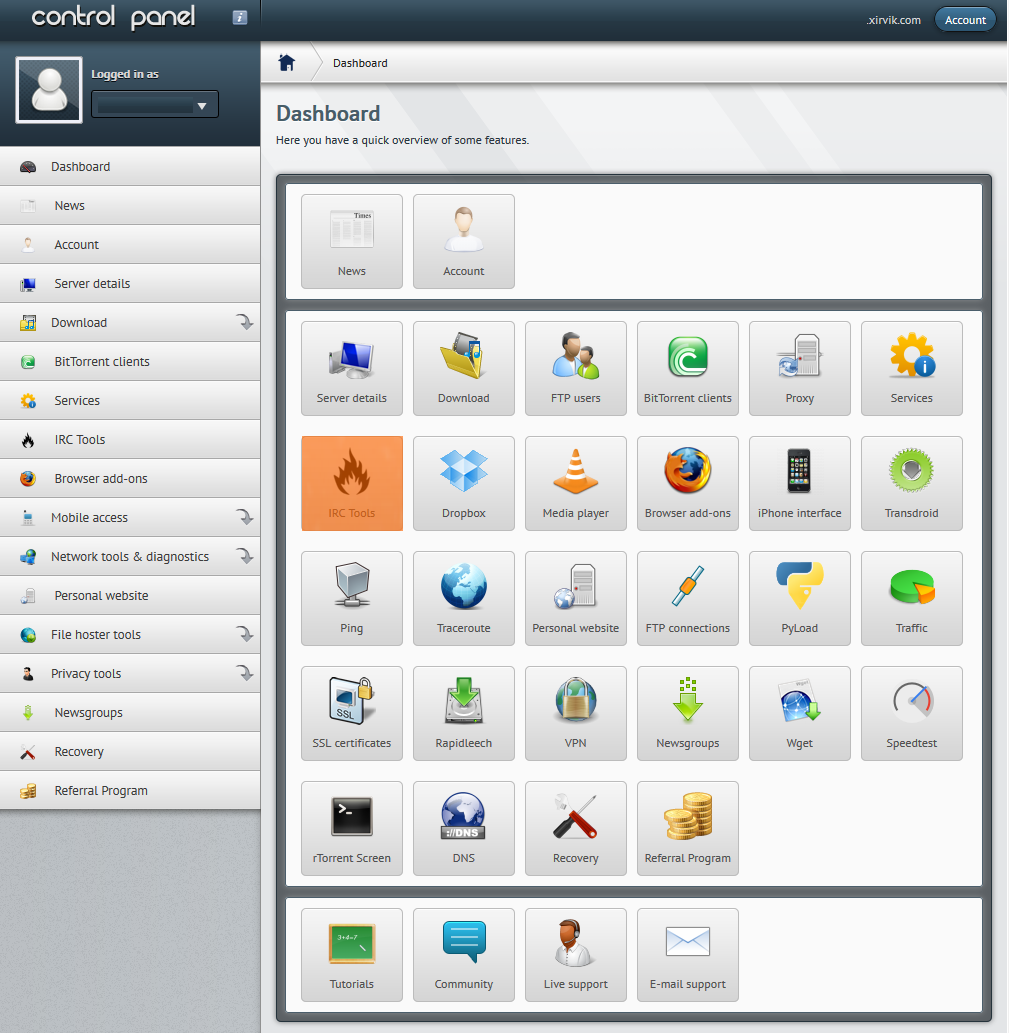
Now we will check that all has been setup correctly. This is done from the servers Dashboard. Click on IRC Tools
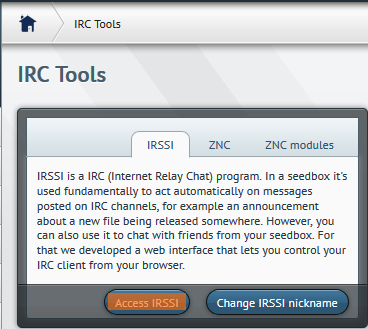
Now click on Access IRSSI
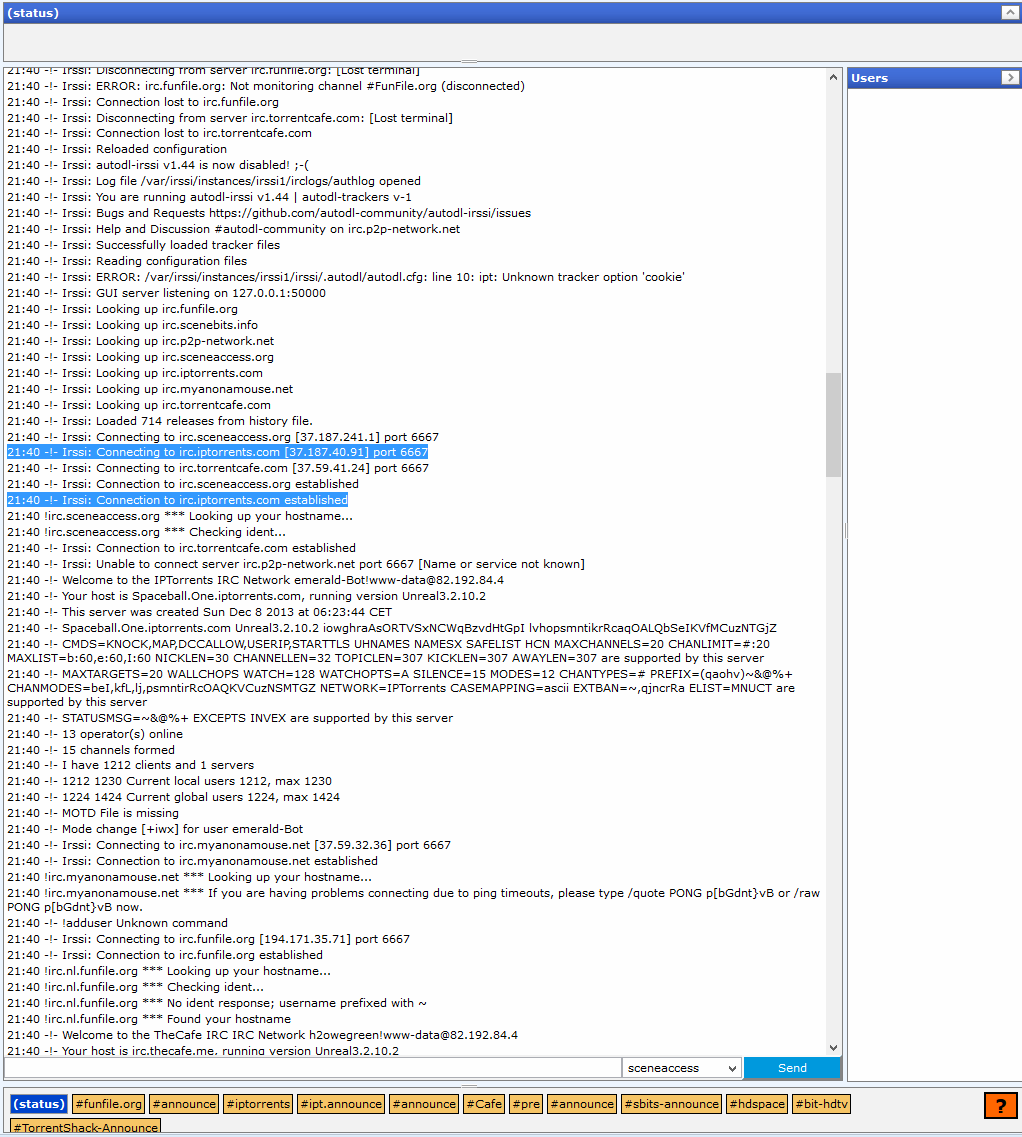
On the next window click Status tab and the connection status window will be loaded. What you are looking for is a successful connection to the tracker you have just added, here I have highlighted the relevant lines in blue. Also there should be a tab at the bottom with the channel name. In this case #ipt.announce.
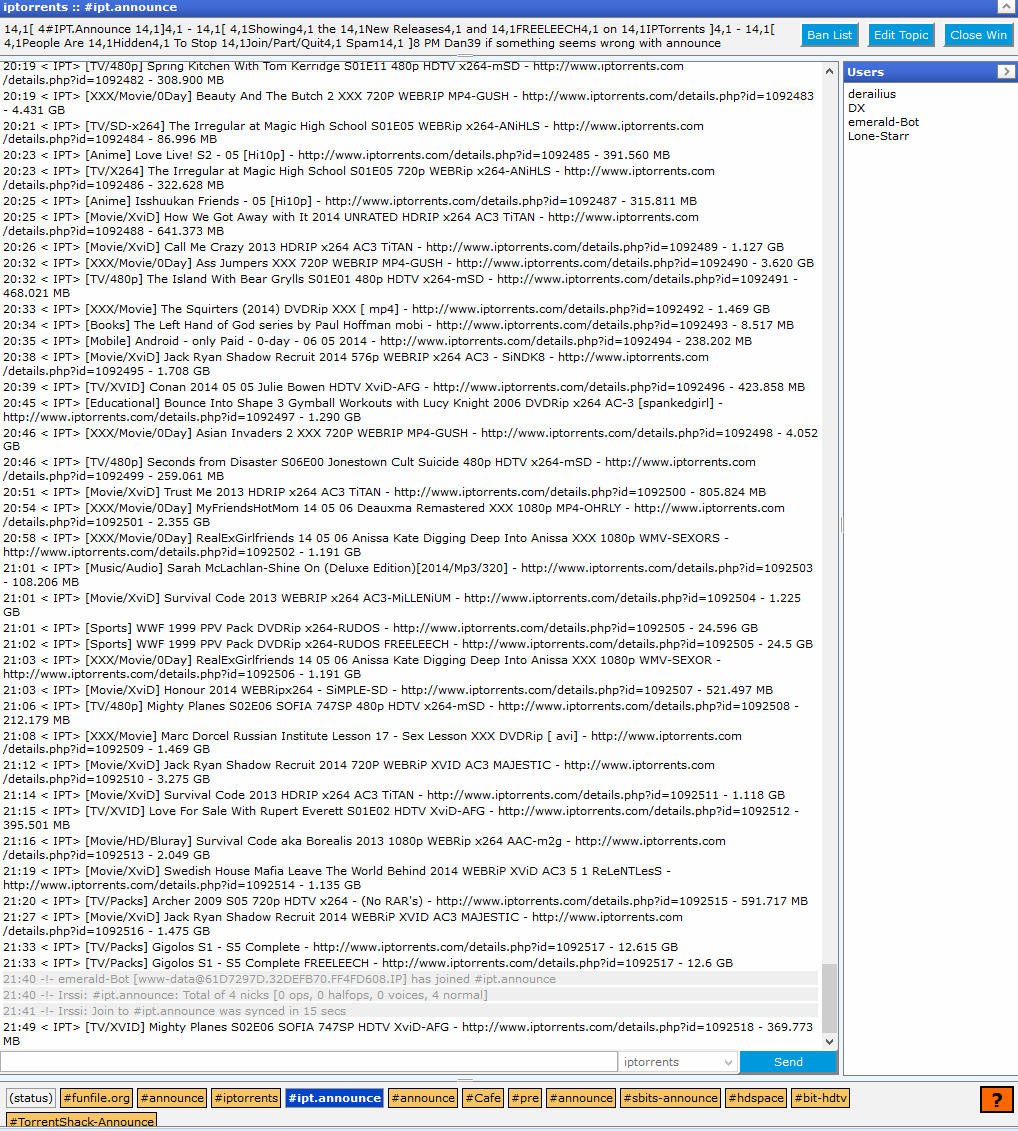
Now click this announce tab and a window will open showing the releases as they are uploaded onto the tracker site. Here you see the time the torrent is uploaded to the site (21:49), the name of the announce bot (IPT), then the category for the torrent (TV/XVID) which corresponds to the categories listed on the trackers Browse page, followed by the torrent name (Mighty Planes S02E06 SOFIA 747SP HDTV XViD-AFG) followed by the download URL (iptorrents.com/details.php?id=1092518) and finally the size of the torrent (369.773MB). All of this data apart from the url can be used in the filters
Now the fun part
2. Creating Filters
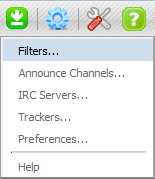
Click on the autodl-irssi Tab and select Filters
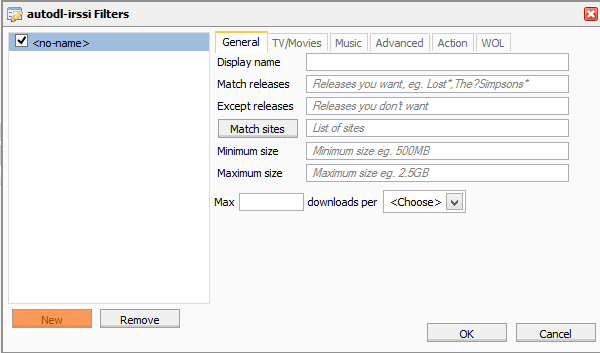
Now click New. A filter called <no-name> will be created.
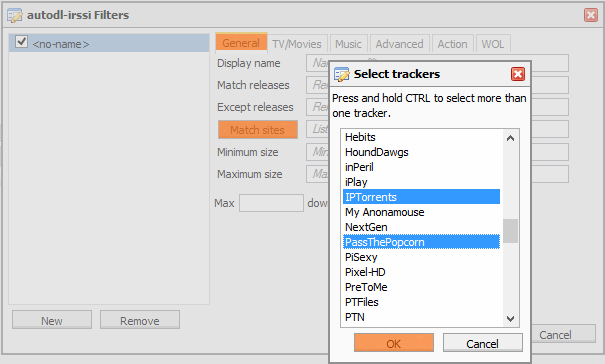
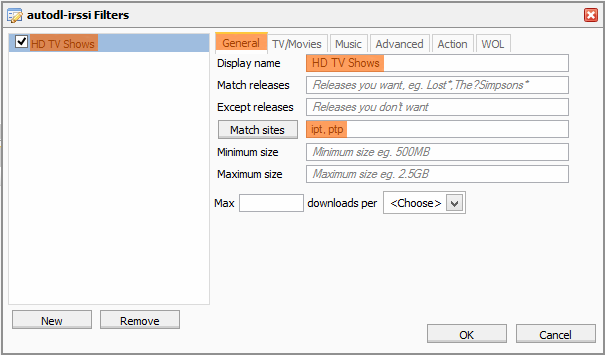
With the General tab selected we can give the filter a name to remind us what it is filtering so for this example I will call it HD TV Shows. So in the Display Name box we put HD TV Shows, now we have to tell it what trackers to monitor so click Match Sites, scroll down to the tracker you want to monitor and click the tracker name ( if you wish to monitor more than one tracker continue scrolling to the next tracker and Ctrl + Click the name so both are highlighted) Now Click OK, their abbreviated names will appear in the box to the right separated by a “,”
For now that is all we need to do on the General Tab, It should look like this.
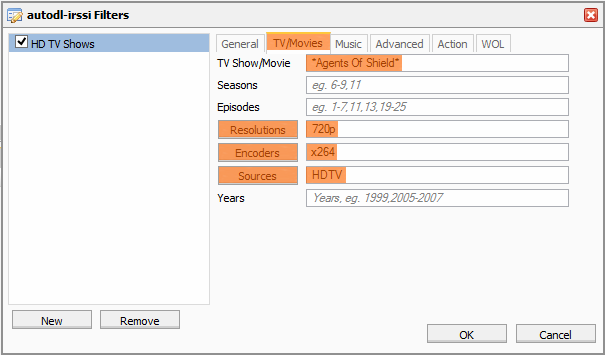
Now click the TV/Movies Tab. This is where we enter the show filters.
Firstly in the TV Show/Movie box we enter a search string for the show with a “*” at each end. This does not need to be the full name and words do not have to be separated by ”.” also capitalisation does not matter. In this case we want to download Marvels Agents Of Shield, The next three parts are optional but if the trackers you use place many different resolutions/encodes or sources in each category then it is good practice to fill them. To select a resolution click the Resolution button and click on the resolution required. The same process for Encodes and Sources.
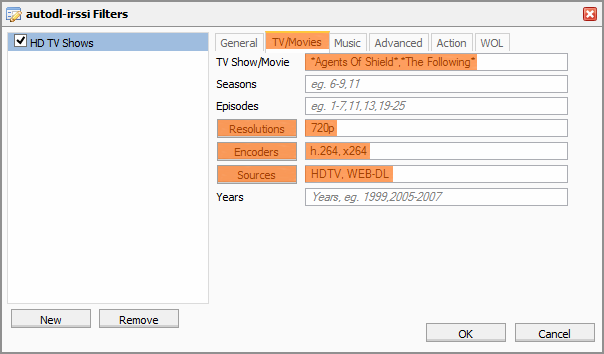
Should you wish to download several shows from the same tracker(s) with the same resolutions/Encodes/Sources then you just type more show filters into the TV/Movies box and separate each show with a “,”. To add more Resolutions/Encodes/Sources then click the relevant button and select the extra ones, each will be added to the existing separated by a “,”. If you need to remove one just click the relevant button and click the one to remove.
In this window we have chosen to download both Marvels Agents Of Shield and The Following in 720p and both h264 and x264 encodings and also in both HDTV and Web-dl sources.
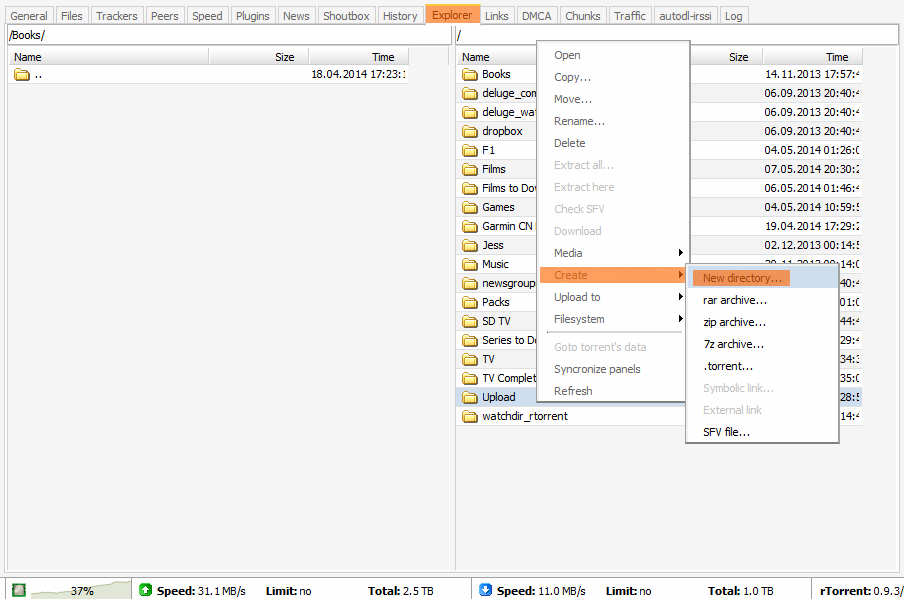
Now we have to tell autodl-irssi what to do with our downloads, so first we have to create a new folder for the data to be stored. In rutorrents main window click on Explorer tab and navigate the right window to the root directory (the navigation bar will just contain a “/”), hover over an existing folder and right click and select Create>New Directory.
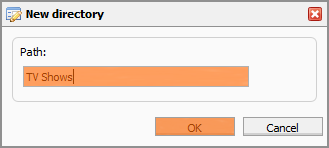
Now type in a Name for the directory and click OK
We have now created a new folder in the root directory called TV Shows.
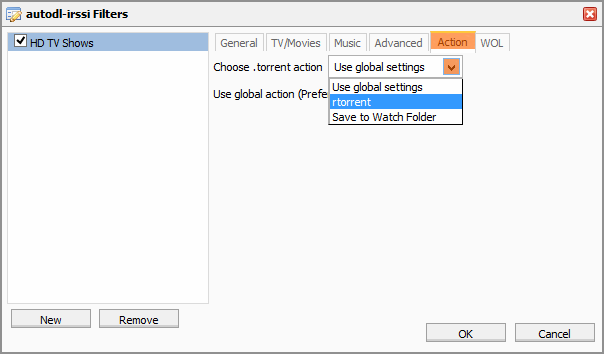
Now Click the Action Tab and from the drop down menu select rtorrent.
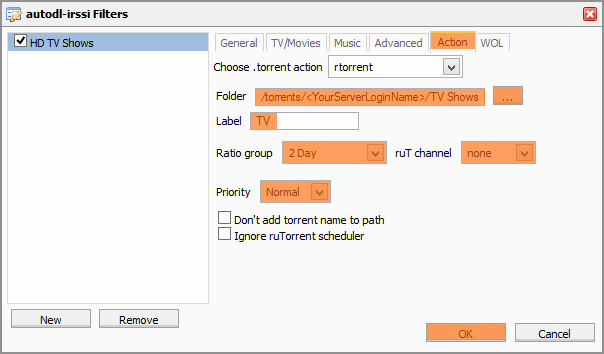
Now in the Folders section click the browse button on the right  , now navigate to the new folder we just created. If you use Labels to sort your torrents or to enable selective unraring then type the Label on the Label box. You can select any of the Ratio Groups you have previously created so that once the torrent has satisfied the ratio requirements it is automatically Stopped/Removed/Deleted/set to a predefined channel. If you want to restrict the download and or upload speeds select the relevant channel from the drop down box, do the same with the priority box too if you want to select something other than Normal. Now you can click OK.
Congratulations you have just created your first Autodl filter. Now all you need to do is sit back and wait for your first torrent that matches your filter to start downloading and seeding ![]()
If you wish to know more advanced settings for autodl-irssi look at the Advanced Settings for Autodl-IRSSI Tutorial.


